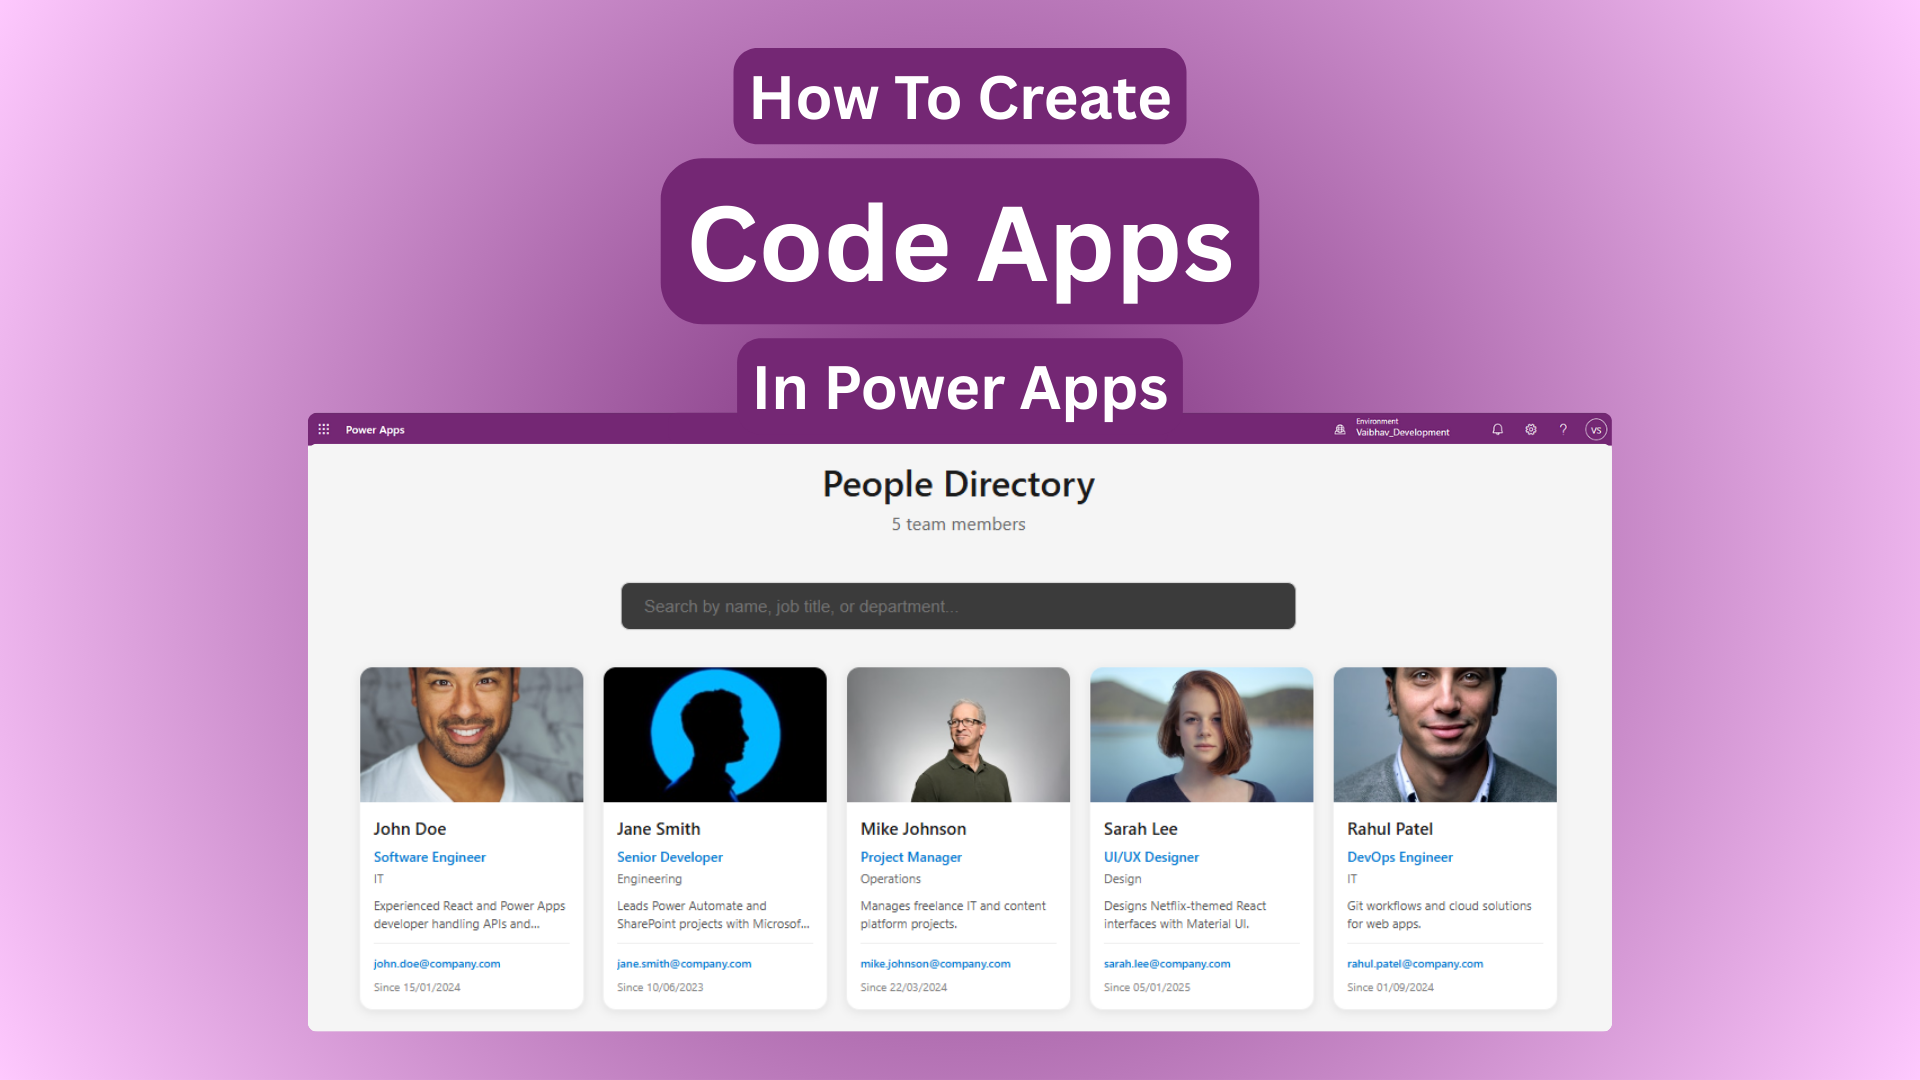
This guide shows you exactly how to create Power Apps Code Apps from scratch using the official CLI workflow. Using a People Directory example, you’ll learn the complete process to build, test, and deploy production-ready React components.
Table of Contents
Step 1: Create Power Apps Code App Project
Start with Microsoft’s official Vite template – this creates everything you need:

npx degit github:microsoft/PowerAppsCodeApps/templates/vite people-directory
cd people-directory
What this creates (production-ready foundation):
Vite 5 + React 18 + TypeScript 5.4
TailwindCSS + Component library ready
Power Apps CLI configured
Hot reload dev server
Production build pipeline
Power Apps manifest
File structure generated:
people-directory/
├── src/
│   ├── components/     ← Build your UI here
│   ├── App.tsx         ← Main entry point
│   └── index.css       ← Tailwind styles
├── package.json        ← npm scripts + deps
├── powerapps.json      ← Power Apps config
└── tsconfig.json       ← TypeScript config
Step 2: Setup Power Platform Environment


Connect your local project to Power Apps:
# Create authentication profile
pac auth create

# List your environments
pac env list

# Select target environment
pac env select --environment 5c9b0d4c-90e9-ee28-8adc-651191e99406

# Install dependencies
npm i

#Initialize code app
pac code init --displayname "Demo Code App"
Purpose: Links your code to Power Platform for data access + deployment.
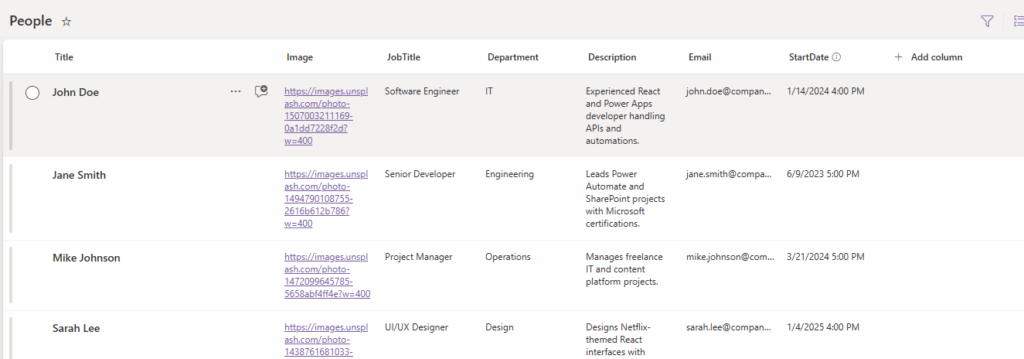
Step 3: Add Data Source Connection
Connect to ANY data source (SharePoint, Dataverse, SQL, etc.):

pac code add-data-source -a shared_sharepointonline \
  -c "shared-sharepointonl-a9d974ad-abcd-4edb-a571-9de48a8ee3ff" \
  -d "https://tenent.sharepoint.com/sites/VaibhavDemoSite" \
  -t "People"
What happens:
Creates src/generated/services/PeopleService.ts
Generates People TypeScript model
Configures connectionReferences.json
Adds authentication handling
Step 4: Generate TypeScript Services
Transform data source into usable code:
pac code generate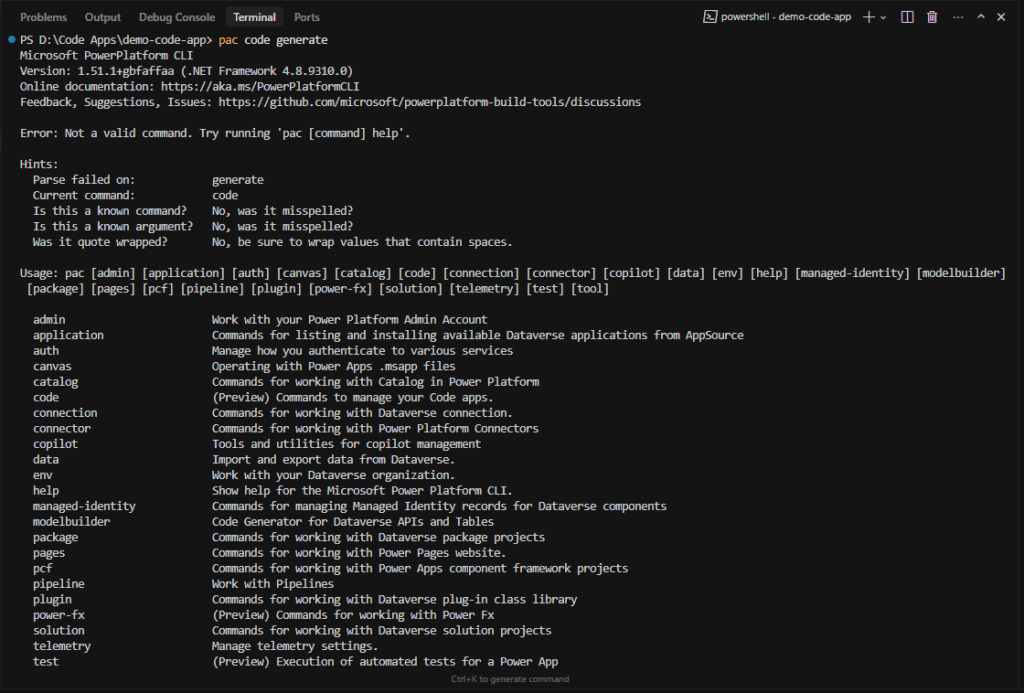
Generated files:
src/generated/
├── models/PeopleModel.ts       ← TypeScript interface
├── services/PeopleService.ts   ← 5 CRUD methods ready
└── connectionReferences.json   ← Deploy config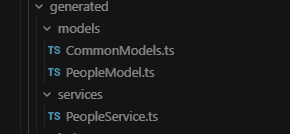
Start development server:
npm run dev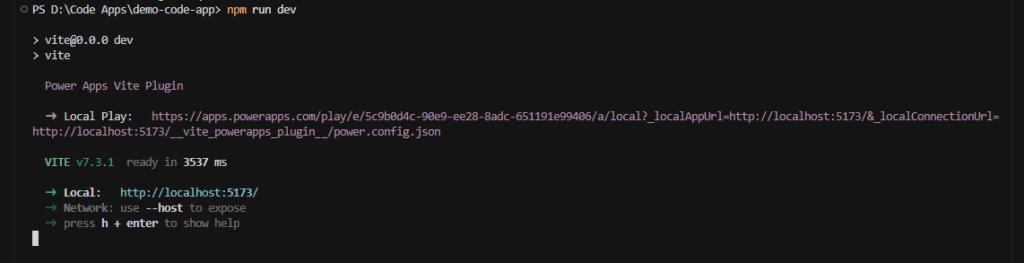
See your app at: http://localhost:5173
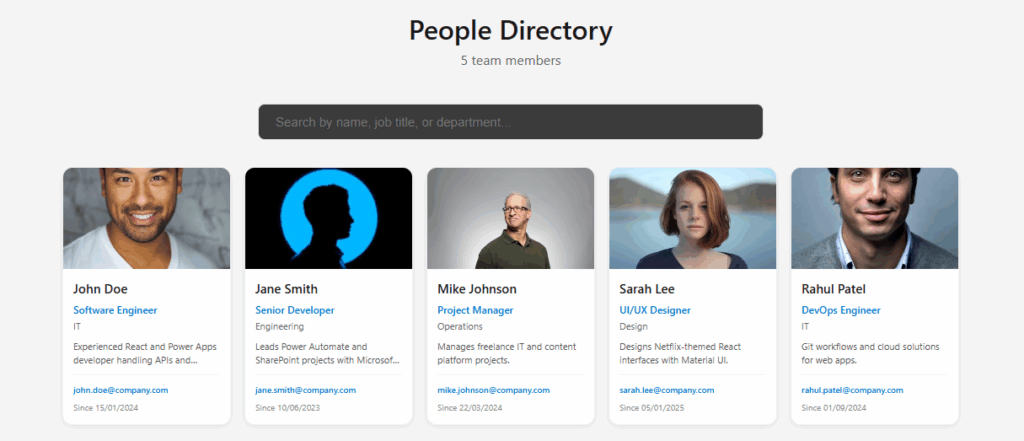
Step 5: Build React Components Using Generated Service
Create src/PeopleDirectory.tsx – Example component:
import React, { useEffect, useState, useCallback } from 'react';
import { PeopleService } from '../generated/services/PeopleService';

interface Person {
  id: string;
  title: string;
  jobTitle: string;
  department: string;
  email: string;
  image: string;
}

export const PeopleDirectory = () => {
  const [people, setPeople] = useState<Person[]>([]);
  const [loading, setLoading] = useState(true);
  const [error, setError] = useState('');

  // **CORE: How to use the generated service**
  const fetchPeople = useCallback(async () => {
    try {
      setLoading(true);
      console.log('📡 Fetching people from Power Platform...');

      // SINGLE LINE - gets all People records
      const result = await PeopleService.getAll();

      if (result?.data) {
        const peopleArray = Array.isArray(result.data)
          ? result.data
          : [result.data];

        // Transform SharePoint fields → React props
        const transformed = peopleArray.map((item: any) => ({
          id: item.ID?.toString() || '',
          title: item.Title || '',
          jobTitle: item.field_2?.[0]?.Value || '',
          department: item.field_3?.[0]?.Value || '',
          email: item.field_5 || '',
          image: item.field_1 || ''
        }));

        setPeople(transformed);
        console.log(`✅ Loaded ${transformed.length} people`);
      }
    } catch (err) {
      setError('Failed to load people');
      console.error('❌ Error:', err);
    } finally {
      setLoading(false);
    }
  }, []);

  useEffect(() => {
    fetchPeople();
  }, [fetchPeople]);

  if (loading) return <div className="p-8 text-center">Loading people...</div>;
  if (error) return <div className="p-8 text-red-600">Error: {error}</div>;

  return (
    <div className="p-8 max-w-6xl mx-auto">
      <h1 className="text-4xl font-bold mb-8">People Directory</h1>
      <p className="text-xl text-gray-600 mb-12">
        {people.length} team members loaded from Power Platform
      </p>

      <div className="grid grid-cols-1 md:grid-cols-2 lg:grid-cols-3 gap-8">
        {people.map((person) => (
          <div key={person.id} className="group bg-white border rounded-xl p-8 hover:shadow-2xl hover:-translate-y-2 transition-all duration-300">
            <div className="w-24 h-24 mx-auto mb-6 rounded-full overflow-hidden bg-gradient-to-r from-blue-400 to-indigo-500 shadow-lg group-hover:scale-110 transition-transform">
              <img
                src={person.image || '/api/placeholder/96/96'}
                alt={person.title}
                className="w-full h-full object-cover"
              />
            </div>
            <h3 className="font-bold text-xl text-gray-900 mb-3 text-center">
              {person.title}
            </h3>
            <p className="text-blue-600 font-semibold mb-2 text-center">
              {person.jobTitle}
            </p>
            <p className="text-gray-500 text-sm text-center mb-4">
              {person.department}
            </p>
            <p className="text-gray-600 text-center">{person.email}</p>
          </div>
        ))}
      </div>
    </div>
  );
};
Add to src/App.tsx:
import { PeopleDirectory } from './PeopleDirectory';

export default function App() {
  return (
    <div className="min-h-screen bg-gray-50">
      <PeopleDirectory />
    </div>
  );
}
Step 6: Test Your Code App Locally
npm run devWhat you see:
Hot reload – edit React → instant preview
Live data from your People list
Full TypeScript checking
Responsive design preview
Console logs showing data flow
Step 7: Deploy Code App to Power Apps
Production build + deployment:
# Create optimized production bundle
npm run build

# Deploy to Power Apps maker portal
pac code push
Find your app:
My Apps → Your code app
PeopleService Methods Reference
All auto-generated methods (replace PeopleService with your service name):
// 1. Load all records (USED ABOVE)
await PeopleService.getAll();

// 2. Get single record
await PeopleService.get("1");

// 3. Create new record
await PeopleService.create({ Title: "John Doe", field_5: "john@email.com" });

// 4. Update record
await PeopleService.update("1", { Title: "Jane Doe" });

// 5. Delete record
await PeopleService.delete("1");
Complete 7-Step Workflow
1. npx degit → Project created
2. pac auth → Authenticated
3. pac code add-data-source → Services generated
4. pac code generate → Types ready
5. Build React → UI complete
6. npm run dev → Local testing
7. pac code push→ Live in Power Apps
Pro Tips for Code Apps
- Use useCallback for service calls
- Always check result?.data
- Handle Array vs single item responses
- Build responsive with Tailwind
- Add loading + error states
- Use component libraries (shadcn/ui, MUI)
Build production Power Apps Code Apps in 15 minutes – from blank project to deployed React component!
Keywords: power apps code apps tutorial 2026, create power apps code component, pac cli step by step, react power platform tutorial, vite power apps template, typescript powerapps development
Leave a Reply